
How to Install Viking Performance Warrior Double Adjustable Rear Shock (15-19 GT, EcoBoost, V6) on your Ford Mustang
Installation Time
60 minutes
Tools Required
- Jack and Jack Stands or Lift
- Flat Head Screwdriver
- 1⁄2” Ratchet or Impact
- (2) 14mm Sockets or (1) 14mm Socket and (1) 14mm Wrench
- 15mm Socket
- 18mm Socket
- Snap Ring Pliers
- Wiz Wheel (if you plan to modify stock bump stocks)
Installation Instructions:
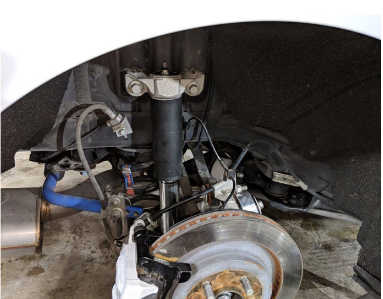
1. Safely raise vehicle using a jack and jack stands or a lift and remove both rear wheels.
2. Pop the cap off the top of the stock shocks using a flat head screwdriver.
3. Partially loosen the 15mm nut on top of the struts.
4. Remove the (2) 18mm bolts securing the shock mount to the body.
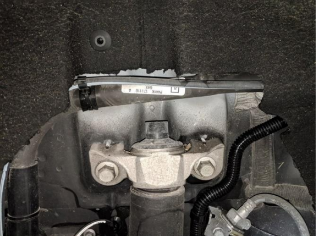
5. From underneath the vehicle, remove and discard the (2) 15mm bolts securing the bottom of the shock.
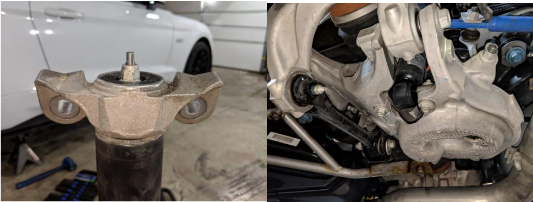
6. Remove the shock from the vehicle and finish removing the top nut.
7. Remove the top nut and mount.
8. Remove the dust boot and pull the bump stop off the top of the shock.
9. If you plan to modify the bump stops, now is the time to do so. Cut off the bottom section of the bump stop.
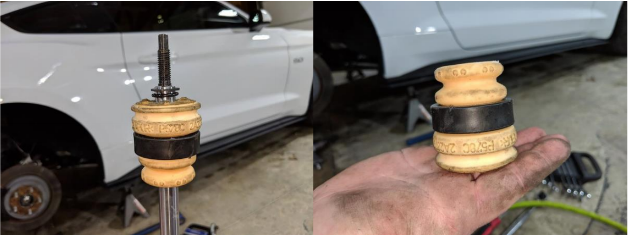
10. Take the new Viking shock and remove the snap ring located at the top of the shock and remove the rubber o-ring.
11. Put the factory top mount on the shock and finger tighten the factory 15mm nut onto the Viking shock. Use this to pull the shock into extended position.
12. Remove the nut and mount then slide the bump stop onto the Viking shock.
13. Now slide the rubber o-ring on then place the snap ring back into the groove.
14. Pull the bump stop and o-ring up to the snap ring and reinstall the dust boot then the mount and nut onto the shock.
15. Install the shock onto the vehicle using the 18mm bolts and finger tighten.
16. Using the provided 14mm nuts and bolts along with the washers, install the bottom of the shock.
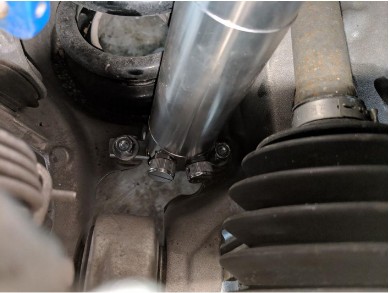
17. Finish tightening the 18mm bolts and check that the 15mm nut on top is fully tightened. Reinstall factory cap on top.
18. Reinstall wheels and lower vehicle.
19. Enjoy your new Viking shocks.
Installation Instructions Written by AmericanMuscle Customer Bradley Davidson 01/02/2019
